Assemble and Install Shower Head Instructions
You are not alone! Most of our customers don’t realize how EASY it is to change a shower head.
Also, most of our customers do not know all U.S. shower faucets are standardized, meaning our shower heads (and all other shower heads) will fit in any U.S. bathroom. This makes upgrading your shower head very simple. We guarantee you’ll have your luxury shower head installed in less than 5 minutes using one of these install methods below.
Typically, no extra tools are needed for install. But you may need a standard wrench to help take off your old shower head.
Assembly Example: Install male ball joint end to shower faucet fixture, female end to shower head, then connect.
On this assembly page you will see two different methods of installation for your Clear Shower XL shower head. We recommend the first “suggested” install method below to ensure your Clear Shower XL shower head is installed properly (has a few extra steps). If you are a pro, we suggest you go ahead and try the 2nd install method at the bottom of the page using the “spin it” instructions. With this method install usually takes between 14-39 seconds.
Install Method #1 – Suggested Install Instructions
This install will take 2-5 minutes. Typically, no additional tools are needed unless you need a wrench to dismount your old shower head.
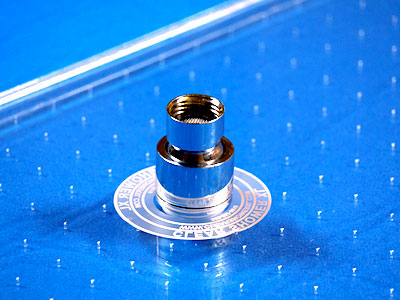
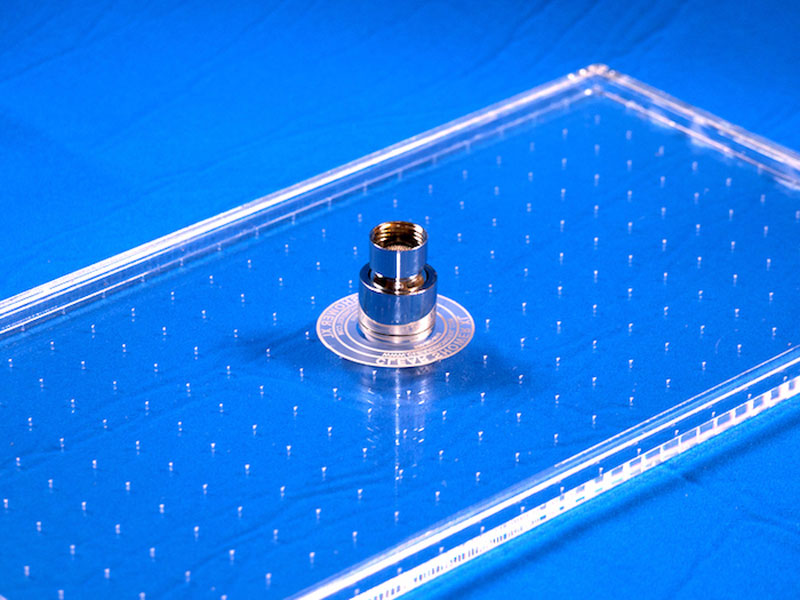
Step 1: Unbox your shower head and ball joint fixture.
The Ball Joint is what connects your shower head to your plumbing faucet in your bathroom. Our ball joint fits all standard U.S. shower plumbing faucets (All U.S. showers use the same standard faucet). Our ball joint is made up of three pieces and shipped to you completely assembled for easy install.
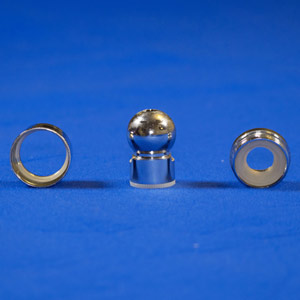
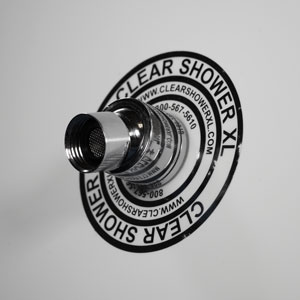
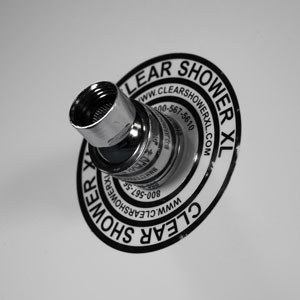
The three pieces that make up the ball joint are:
- The male connector, which connects to the shower head (right).
- The ball joint, which allows the shower head to swivel (middle)
- The female connector, which connects the ball joint to your shower’s faucet (left).
Step 2: Remove your old shower head fixture by unscrewing it from your wall mount plumbing.
Depending on the condition of your old shower head you may need a wrench to help unmount your old shower head. Overtime, shower head connectors can corrode which calls for a little extra elbow grease. However, Clear Shower XL’s ball joints are made from stainless steel so you’ll never have a problem taking your new Clear Shower XL shower head on and off.
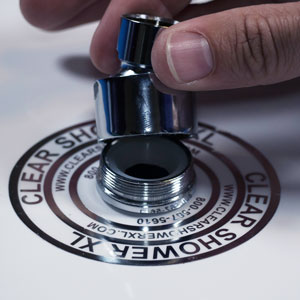
Step 3: Remove white plastic protective cap from ball joint fixture.
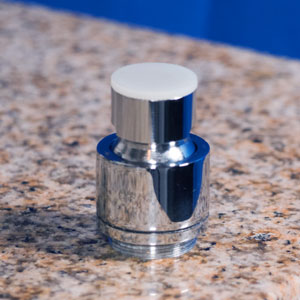
This small white plastic cover is only used for shipping and will not be used for install. Feel free to throw it away. There will also be a small screen filter inside the cover. Keep the screen filter.
- Note the plastic insert is located on the male end of the ball joint which will connect to your wall (or ceiling) faucet.
- The water filter screen is intended to stay in place inside the ball joint.
Step 4: Mounting your ball joint to your shower faucet OR to your shower head.
Please note the install video below demonstrates mounting the female end of the ball joint to the shower head first. Again, it’s also fine to first mount the male end of the ball joint to the shower faucet first if this makes for an easier install for you and your bathroom. Either way, it’s recommended you install each piece of the ball joint individually to ensure a tight fit.
Assembly example: Install female ball joint end to shower head with male end attached, then connect male end to shower faucet.
Step 5: Attach other side of ball joint to shower head or shower fixture
At this point your ball joint is attached to either your shower head or shower faucet (step 4). Now it’s time to carefully tighten the other end of the ball joint into place – do not over exert force or use tools to tighten. Hand force is sufficient and highly suggested.
Pro-tip: *Optional* Use PVC tape to wrap around your shower faucet before installing ball joint for a water tight fit.
Clear Shower XL shower heads work both horizontal and vertical
Install Method #2
Alternative Install Method – “Spin It”
If you have enough room to spin the shower head in your shower, you can attach the male end of the ball joint to your shower faucet and then spin your shower head in place, attaching to the ball joint. See video below.
See more information on a FAQ page
Assembly example: Install male ball joint end to shower faucet with female end attached, then connect to shower head.